
Thursday, November 4, 2010
Finished grip tape template
Template for grip tape


Friday, October 29, 2010
Board painted and varnished

Thursday, October 28, 2010
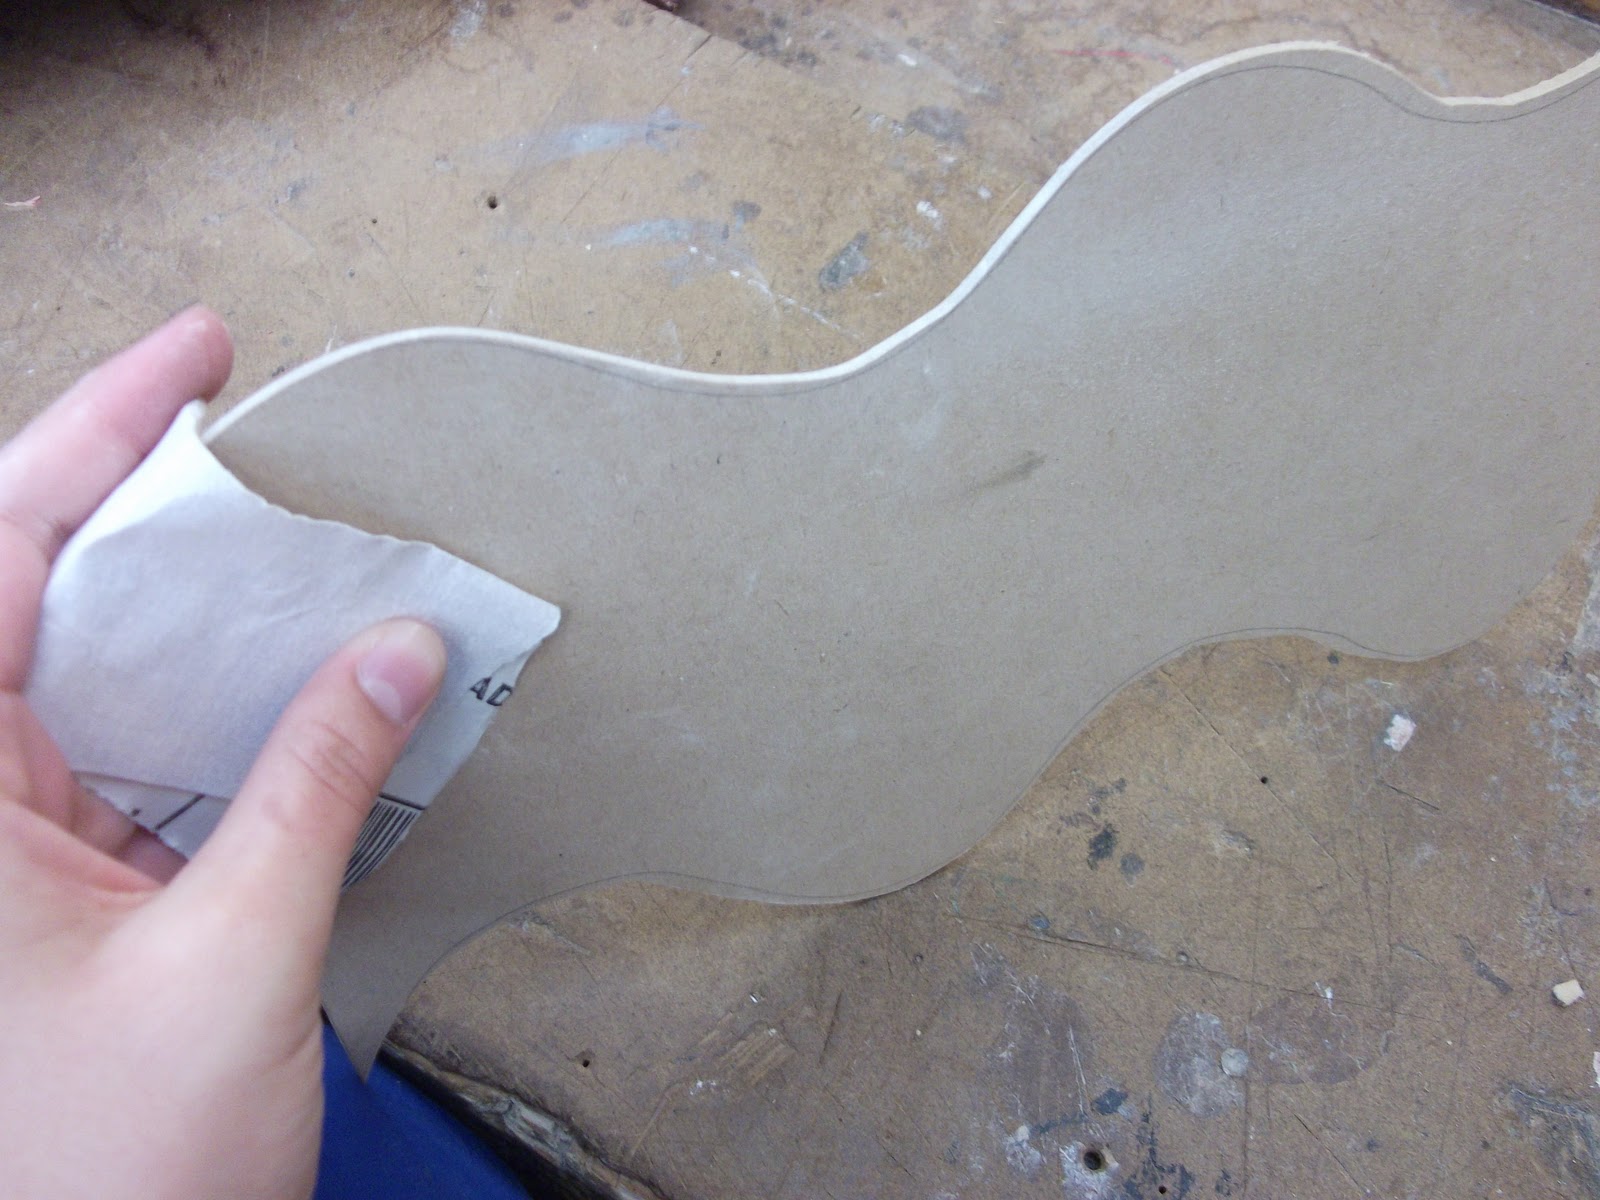
Grip tape


I have decided to use glow-in-the-dark and black grip tape on my board. I am to place them in a wavy pattern (like the one below) to reflect the underwater theme that I am going for.

The two colours will alternate. To create this pattern effectively I willl have to create a template out of MDF, to ensure that the lines fit together perfectly.
Primer


Sanding


Cut out board

Thursday, September 23, 2010
Tracing template


Finished template

Template after cutting out and sanding. It is now ready to be traced onto the board.
Sanding template

I sanded the template back to the line and made it smooth and even. I used P120 sandpaper.

Cutting out template


I cut out my template on the scroll saw, staying approx 10mm form the line the whole way around so that I have room for mistakes and can sand it back the lie perfectly afterwards.
Thursday, August 26, 2010
Creating Template


Today we transferred the designs we had created on Freehand onto ply, by hand. We drew half the board so that the template can be used to create a perfectly symmetrical skateboard. We used a finished board to figure out the appropriate length and width, taking into account the kickers at each end. Once this is done the template will be cut out on the scroll saw.
Thursday, August 5, 2010
Back of board


I want to spray the back of the board a mottled bluey-green like one of these. I am keeping with the fish theme so I am going to paint some fish like these over the top.


Template Designing
Today we are designing our templates for our decks on Freehand. My design is based on the shape of a short board from the 80's that I really like. It is slightly fish shape so I will probably paint it in accordance with that theme. On freehand I drew the shape of the whole board but when I transfer i to bendy ply I will draw half the design so that when it is traced the deck will become symmetrical. The design will be traced onto bendy ply, which is flexible.
Thursday, July 29, 2010
Brackets on board


We carefully lifted the board and placed the finished skateboard underneath. This was covered in newspaper to protect it. The unfinished board was positioned on top of it. Small blocks of wood were cut out. The unfinished board was bracketed to the skateboard , to bend it to the shape of the original board. Some extra brackets were used to hold the layers of board together while it dried. The small blocks of wood were placed between the brackets and the unfinished board to protect the kauri. The board was left to dry.
Gluing layers


We applied resin to the first on three layers of Fijian kauri. It had to be completely and evenly covered by the resin. This was done by spreading it out with gloved hands, Then we lay down a sheet of fiberglass and pressed it into the resin. Another even coat of resin was applied over the fiberglass and a second layer of kauri was placed on top. This was repeated until the board was composed of three layers of kauri and two layers of fiberglass.
Mixing epoxy resin


Today we had a go at the beginning of the skateboard making process. We started by cutting out four 350mm by 1200mm on the bandsaw. We used Fijian Kauri, which is not a very sustainable wood (see research). We then mixed some Epoxy resin (5 parts resin and 1 part hardener), in the pictures above. We wore latex gloves and surgical masks to protect our skin and lungs from the toxic resin.
Thursday, June 17, 2010
Coloured Resin
 I want to use a coloured resin but I think that the best way to achieve this would be to add a coloured pigment to the resin. I couldn't find anyway to order them from in New Zealand but there is a company in the States that sells them in a variety of colours (above) http://www.shopmaninc.com/pigments.html
Terry has some pigments that we can experiment with next week, so if that works we won't have to buy any.
R180 Epoxy Resin
Nuplex R180 is a modified, low viscosity epoxy resin and is used in conjunction with Nuplex H180 hardener for the construction of reinforced laminates in the Marine environment.
This epoxy system was especially developed for the production of articles where thin film cure is of particular importance. Particular emphasis has been placed on deferral toughness and strength of the cure system. As well as offering high mechanical properties, its low viscosity facilitates wet out of difficult fabrics


Thursday, June 10, 2010
BRIEF
To design and create a skateboard from researched materials. I will make a short deck (retro 80's look) with a kicker (or two) and longboard trucks (the experiment). I need to research what materials will work best and an appropriate shape for the board. When this is done I will design the board on Solidworks and cut it out. Following this I will construct the board, then spray it and attach the trucks.
Subscribe to:
Posts (Atom)